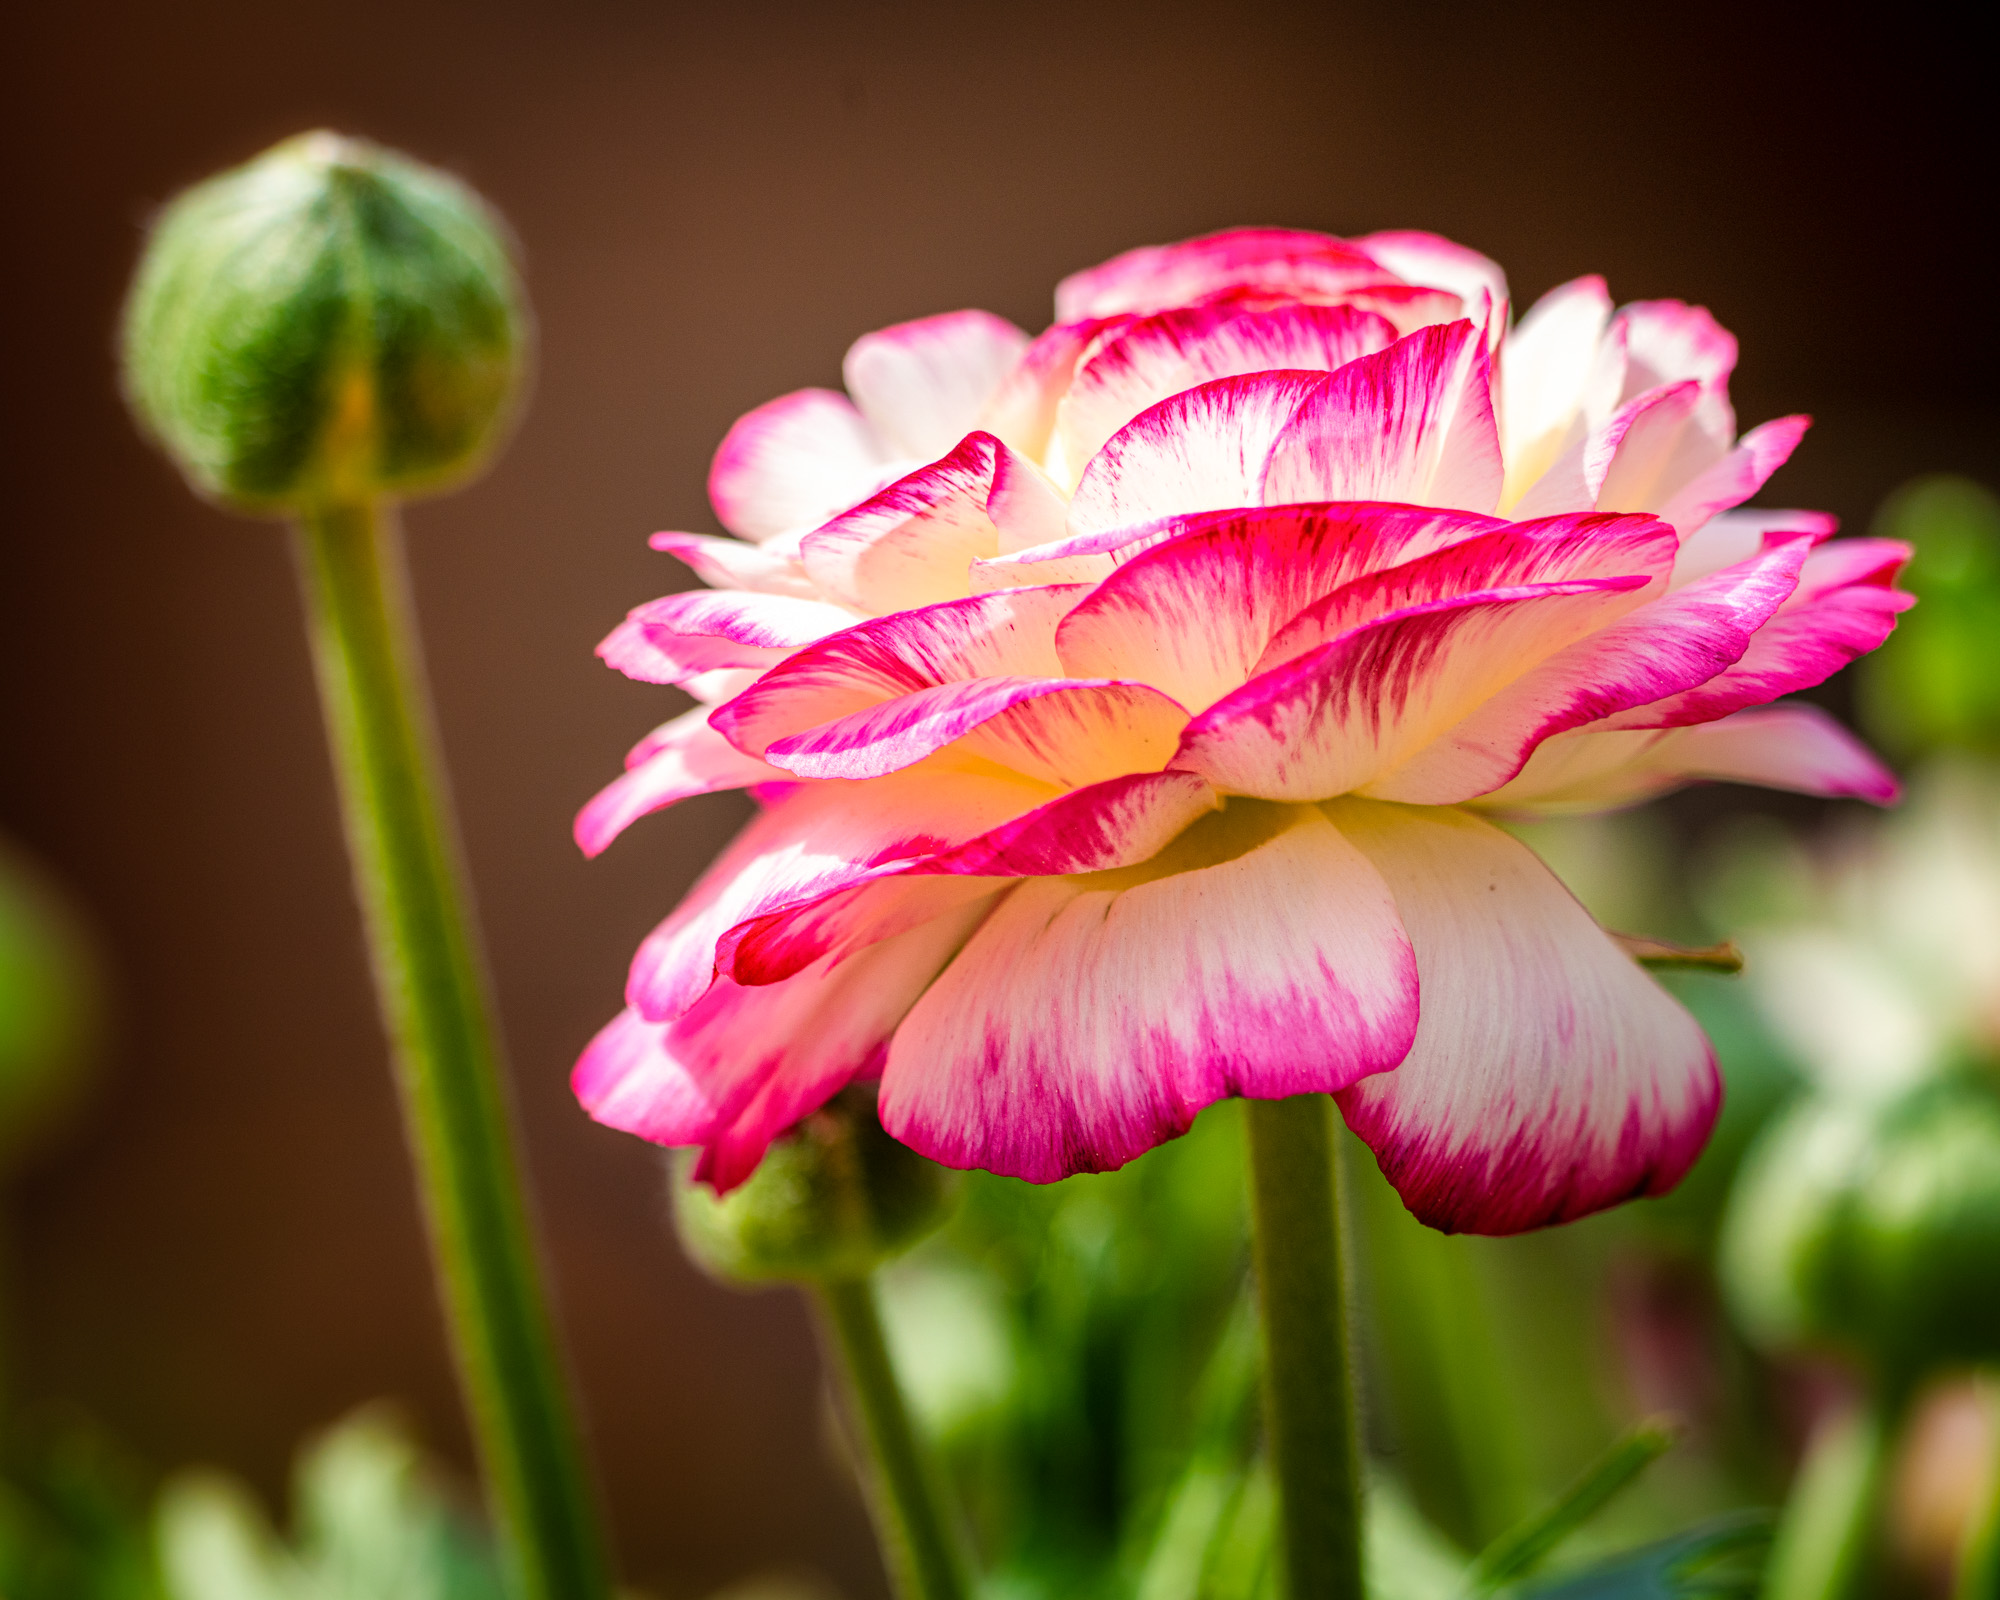
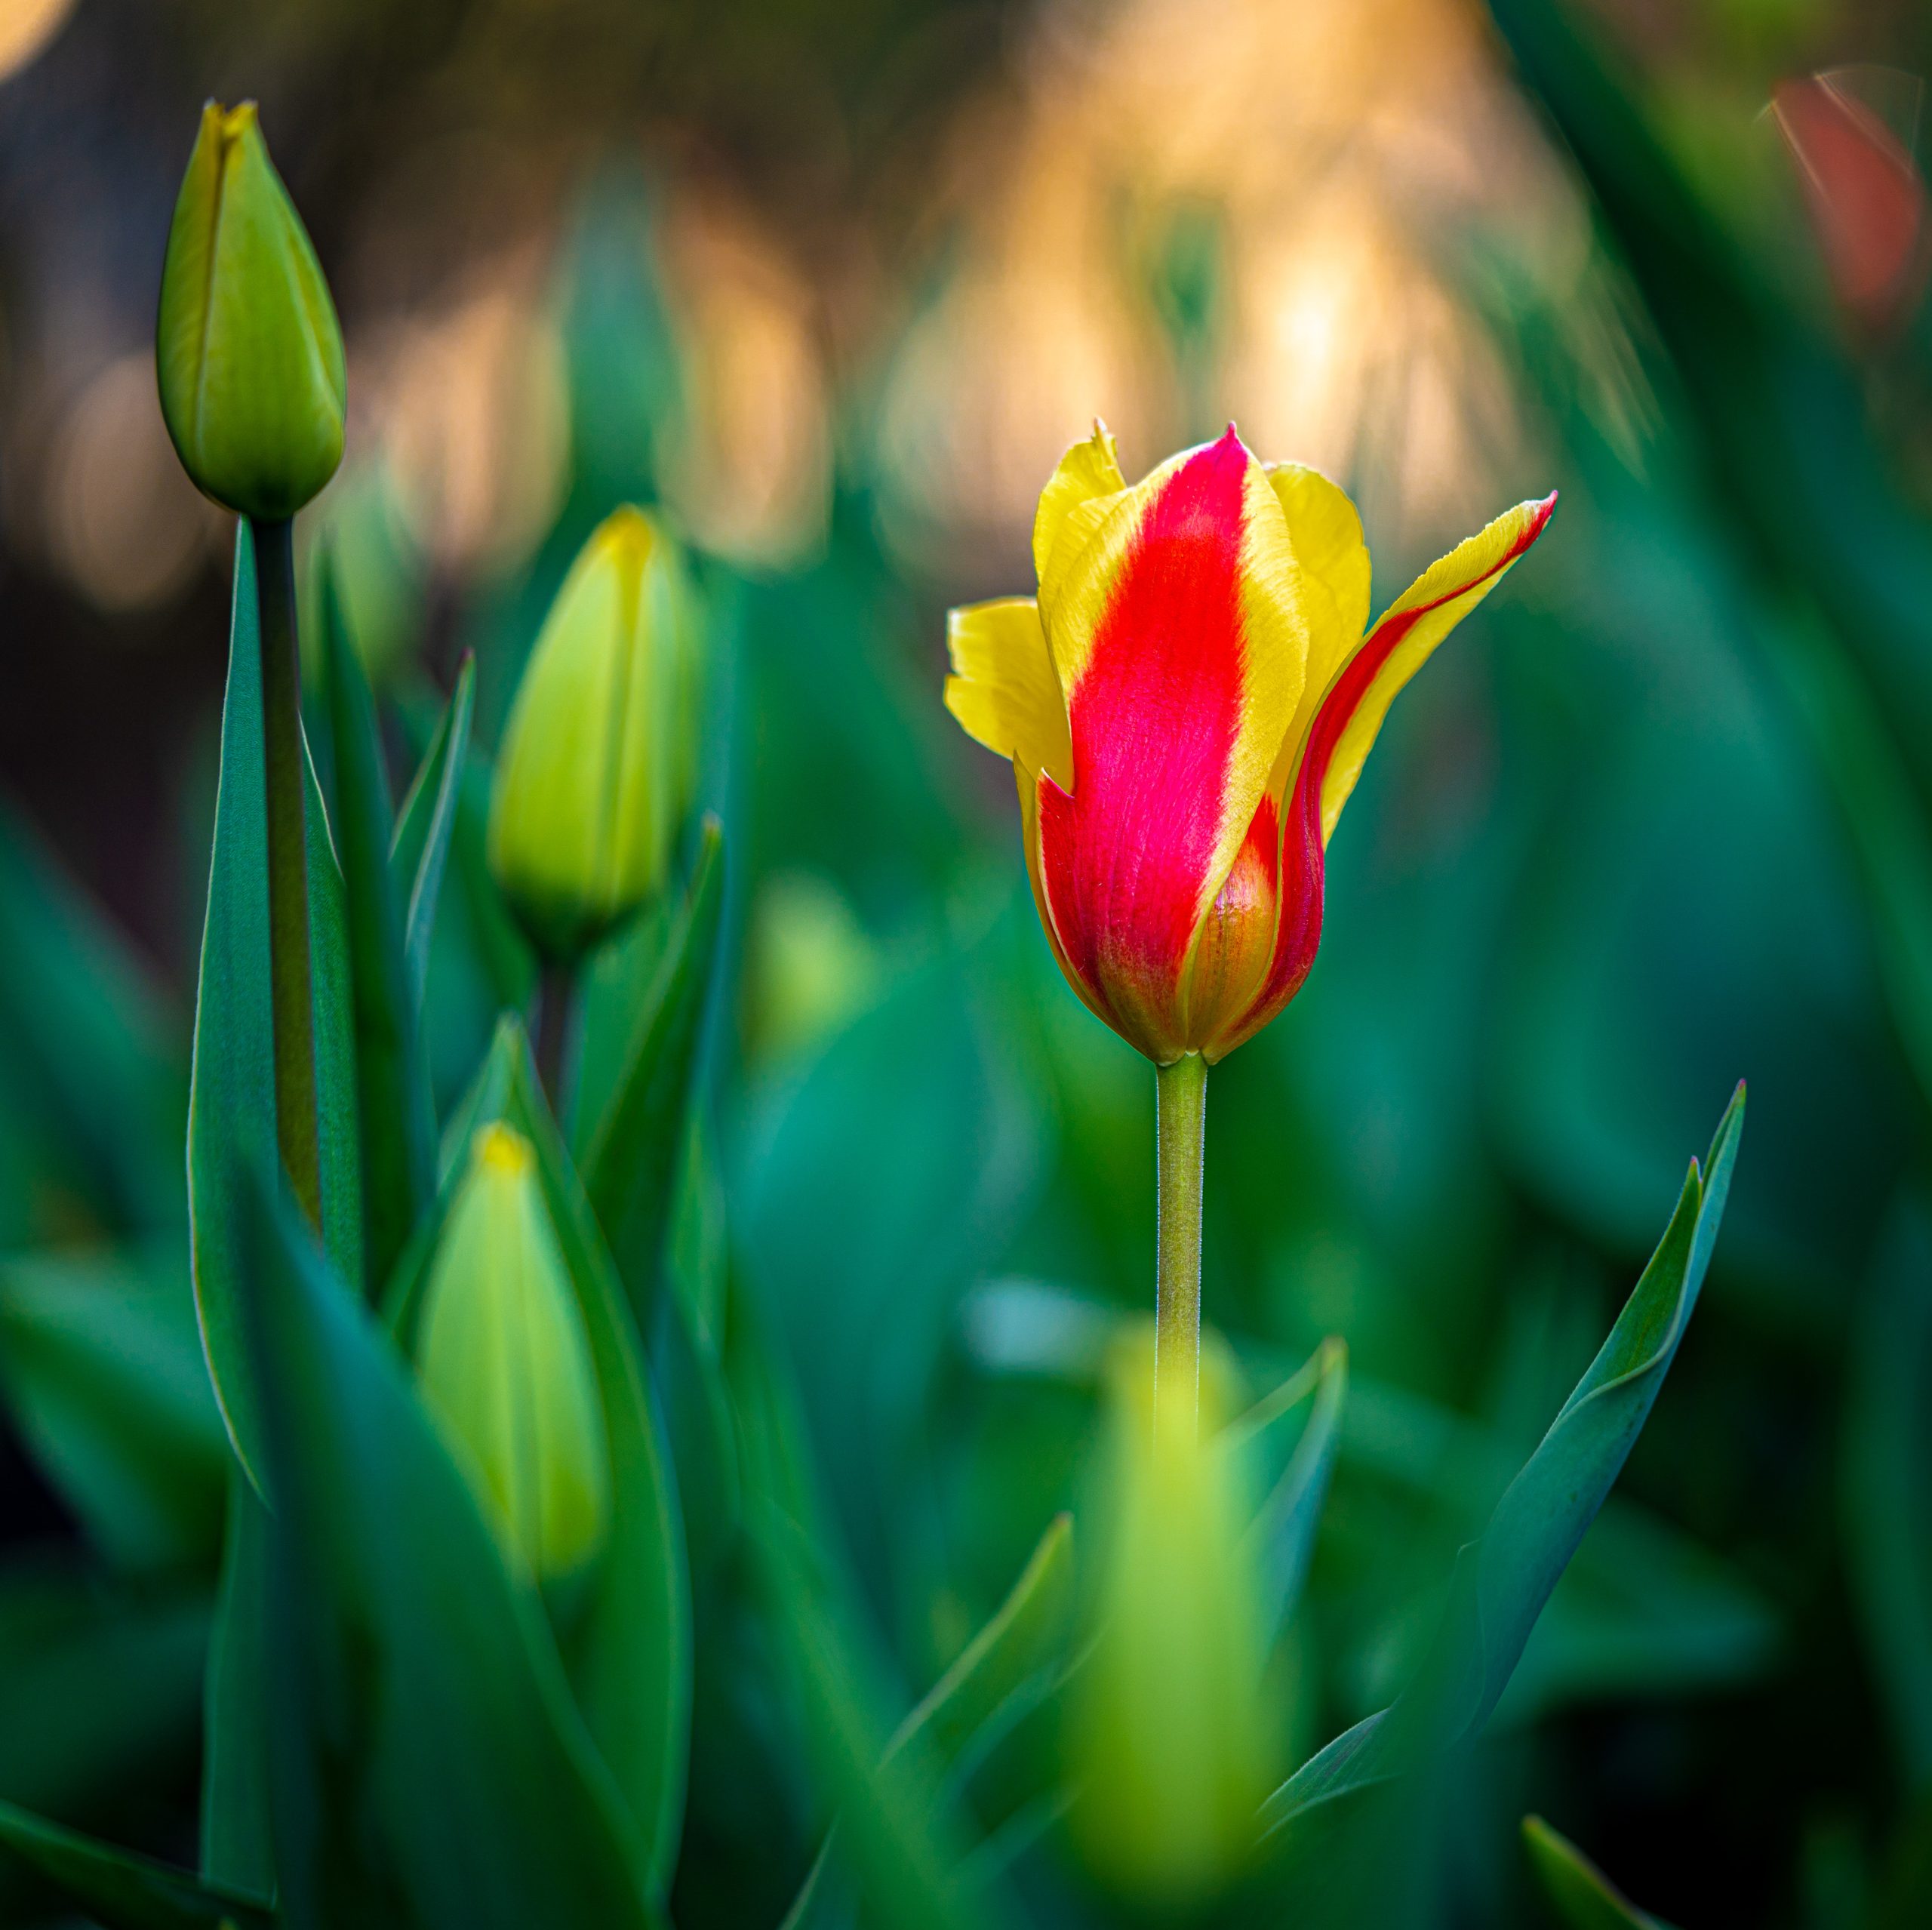
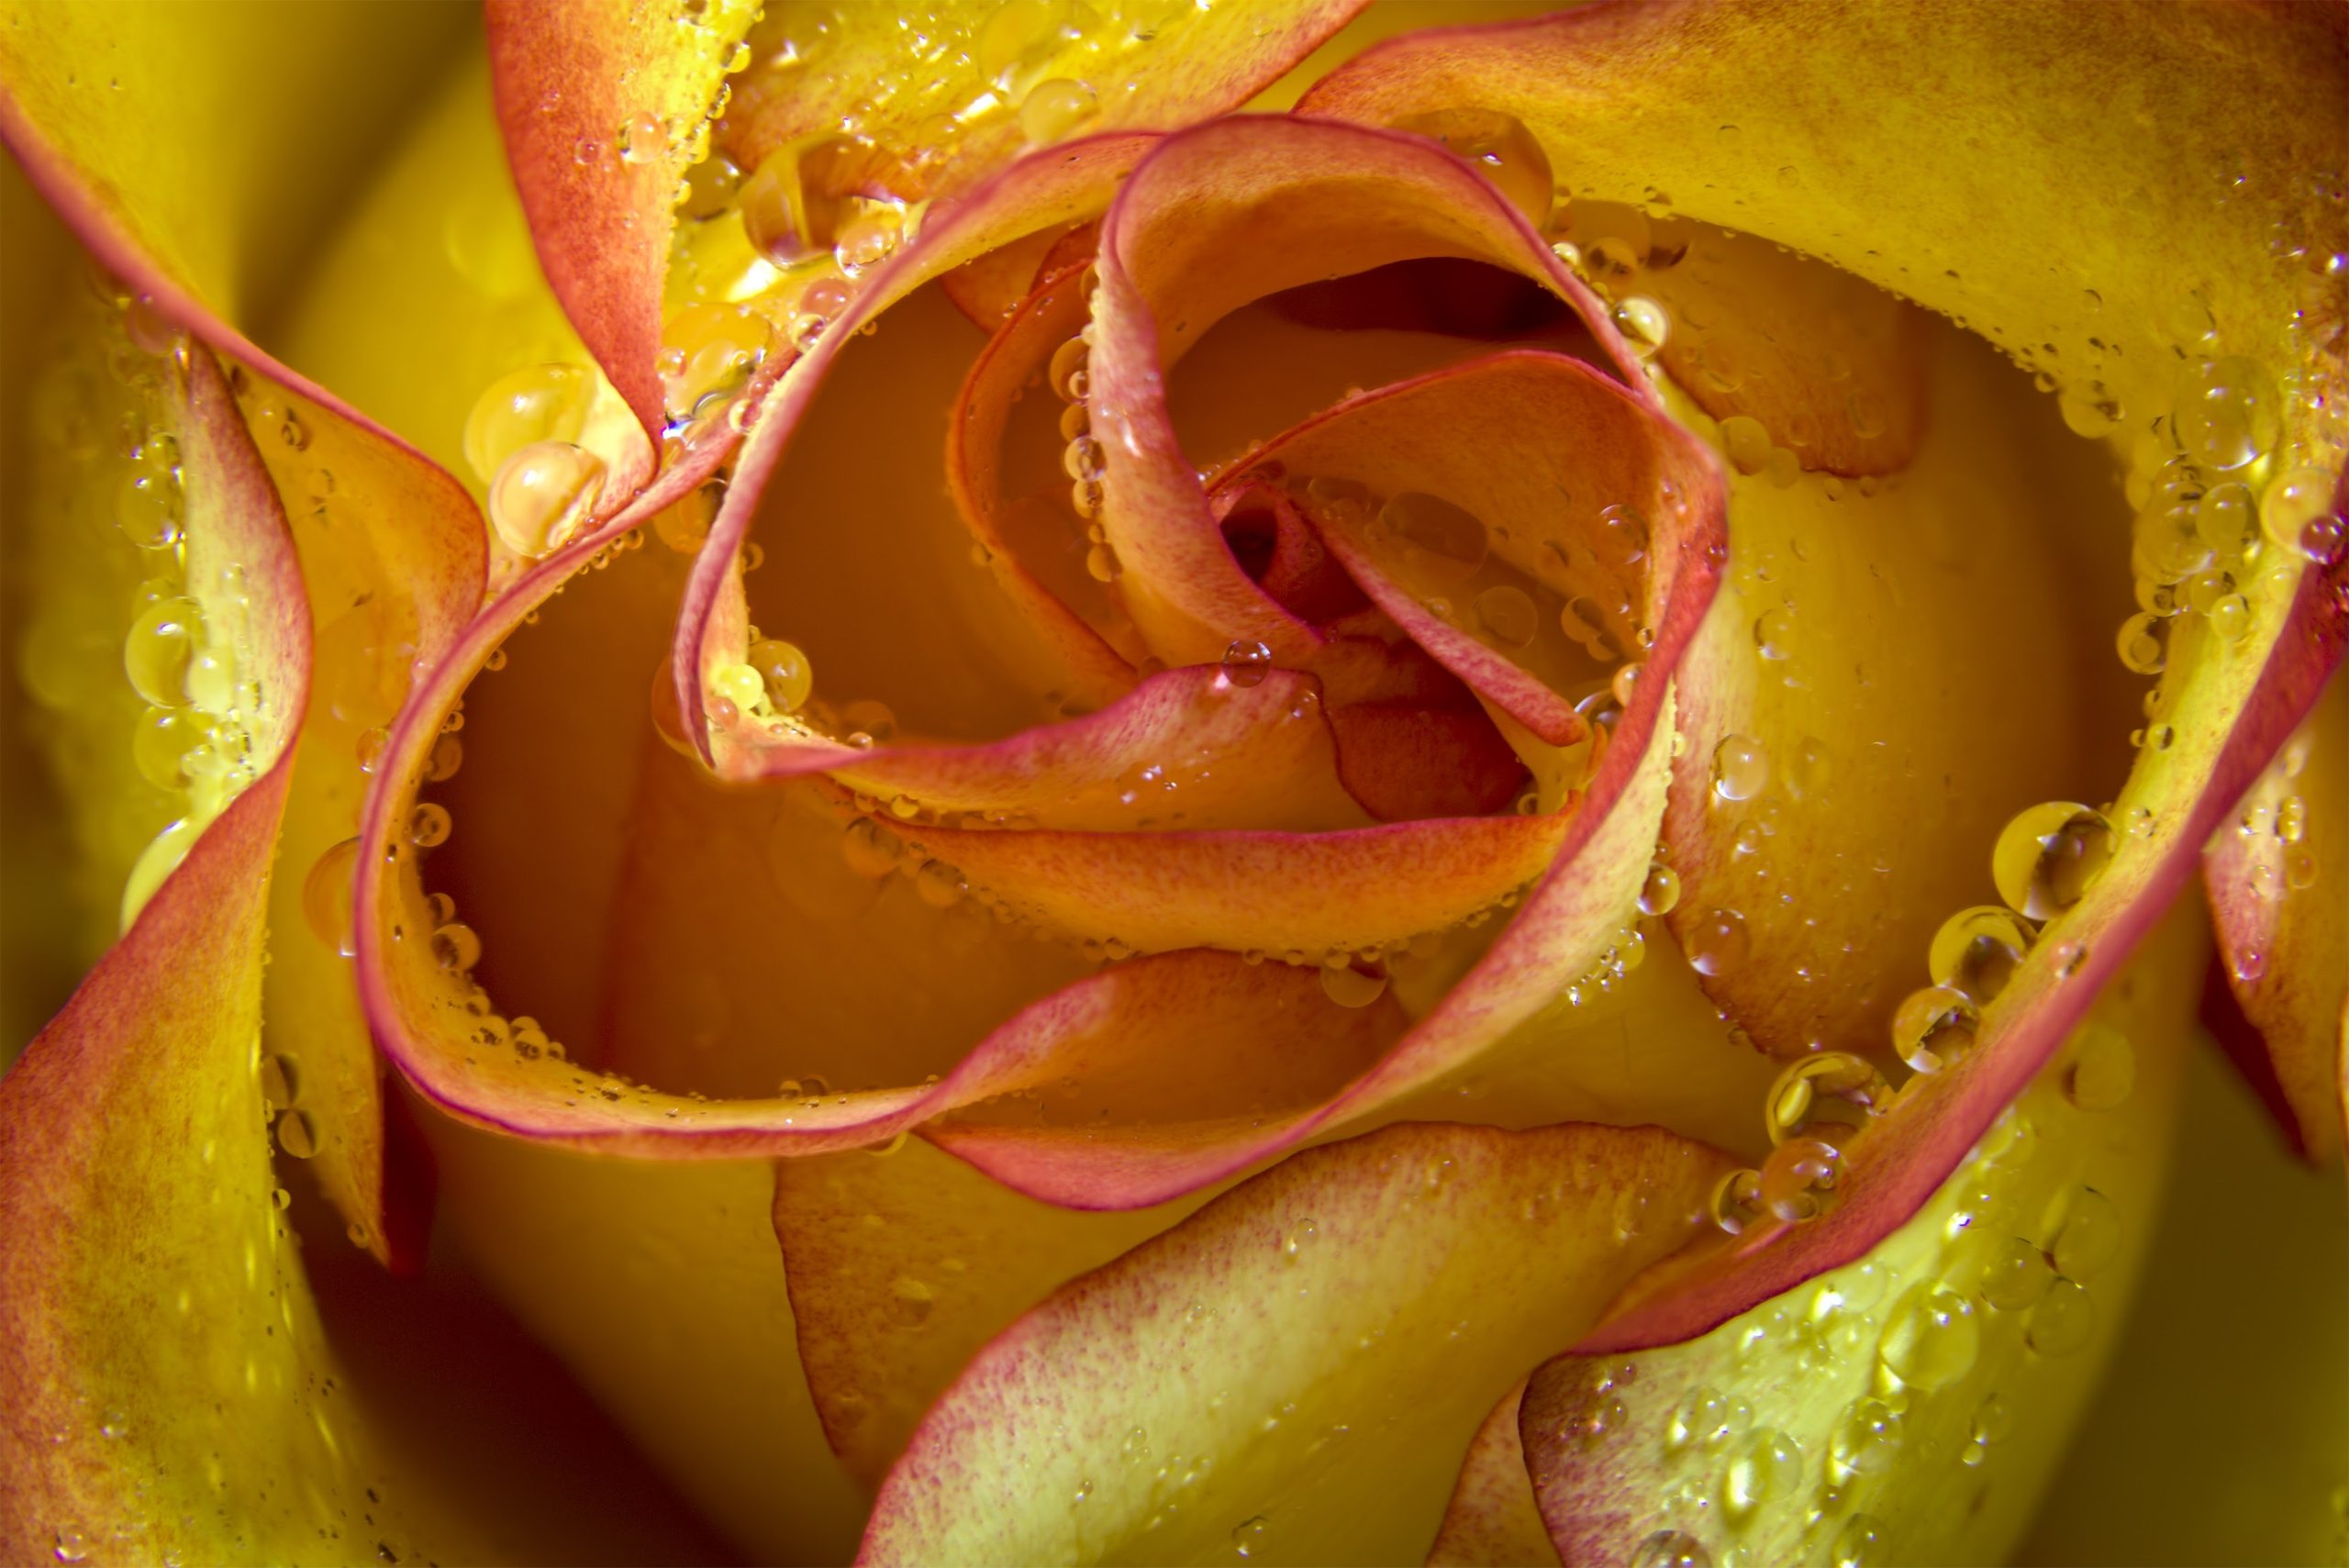
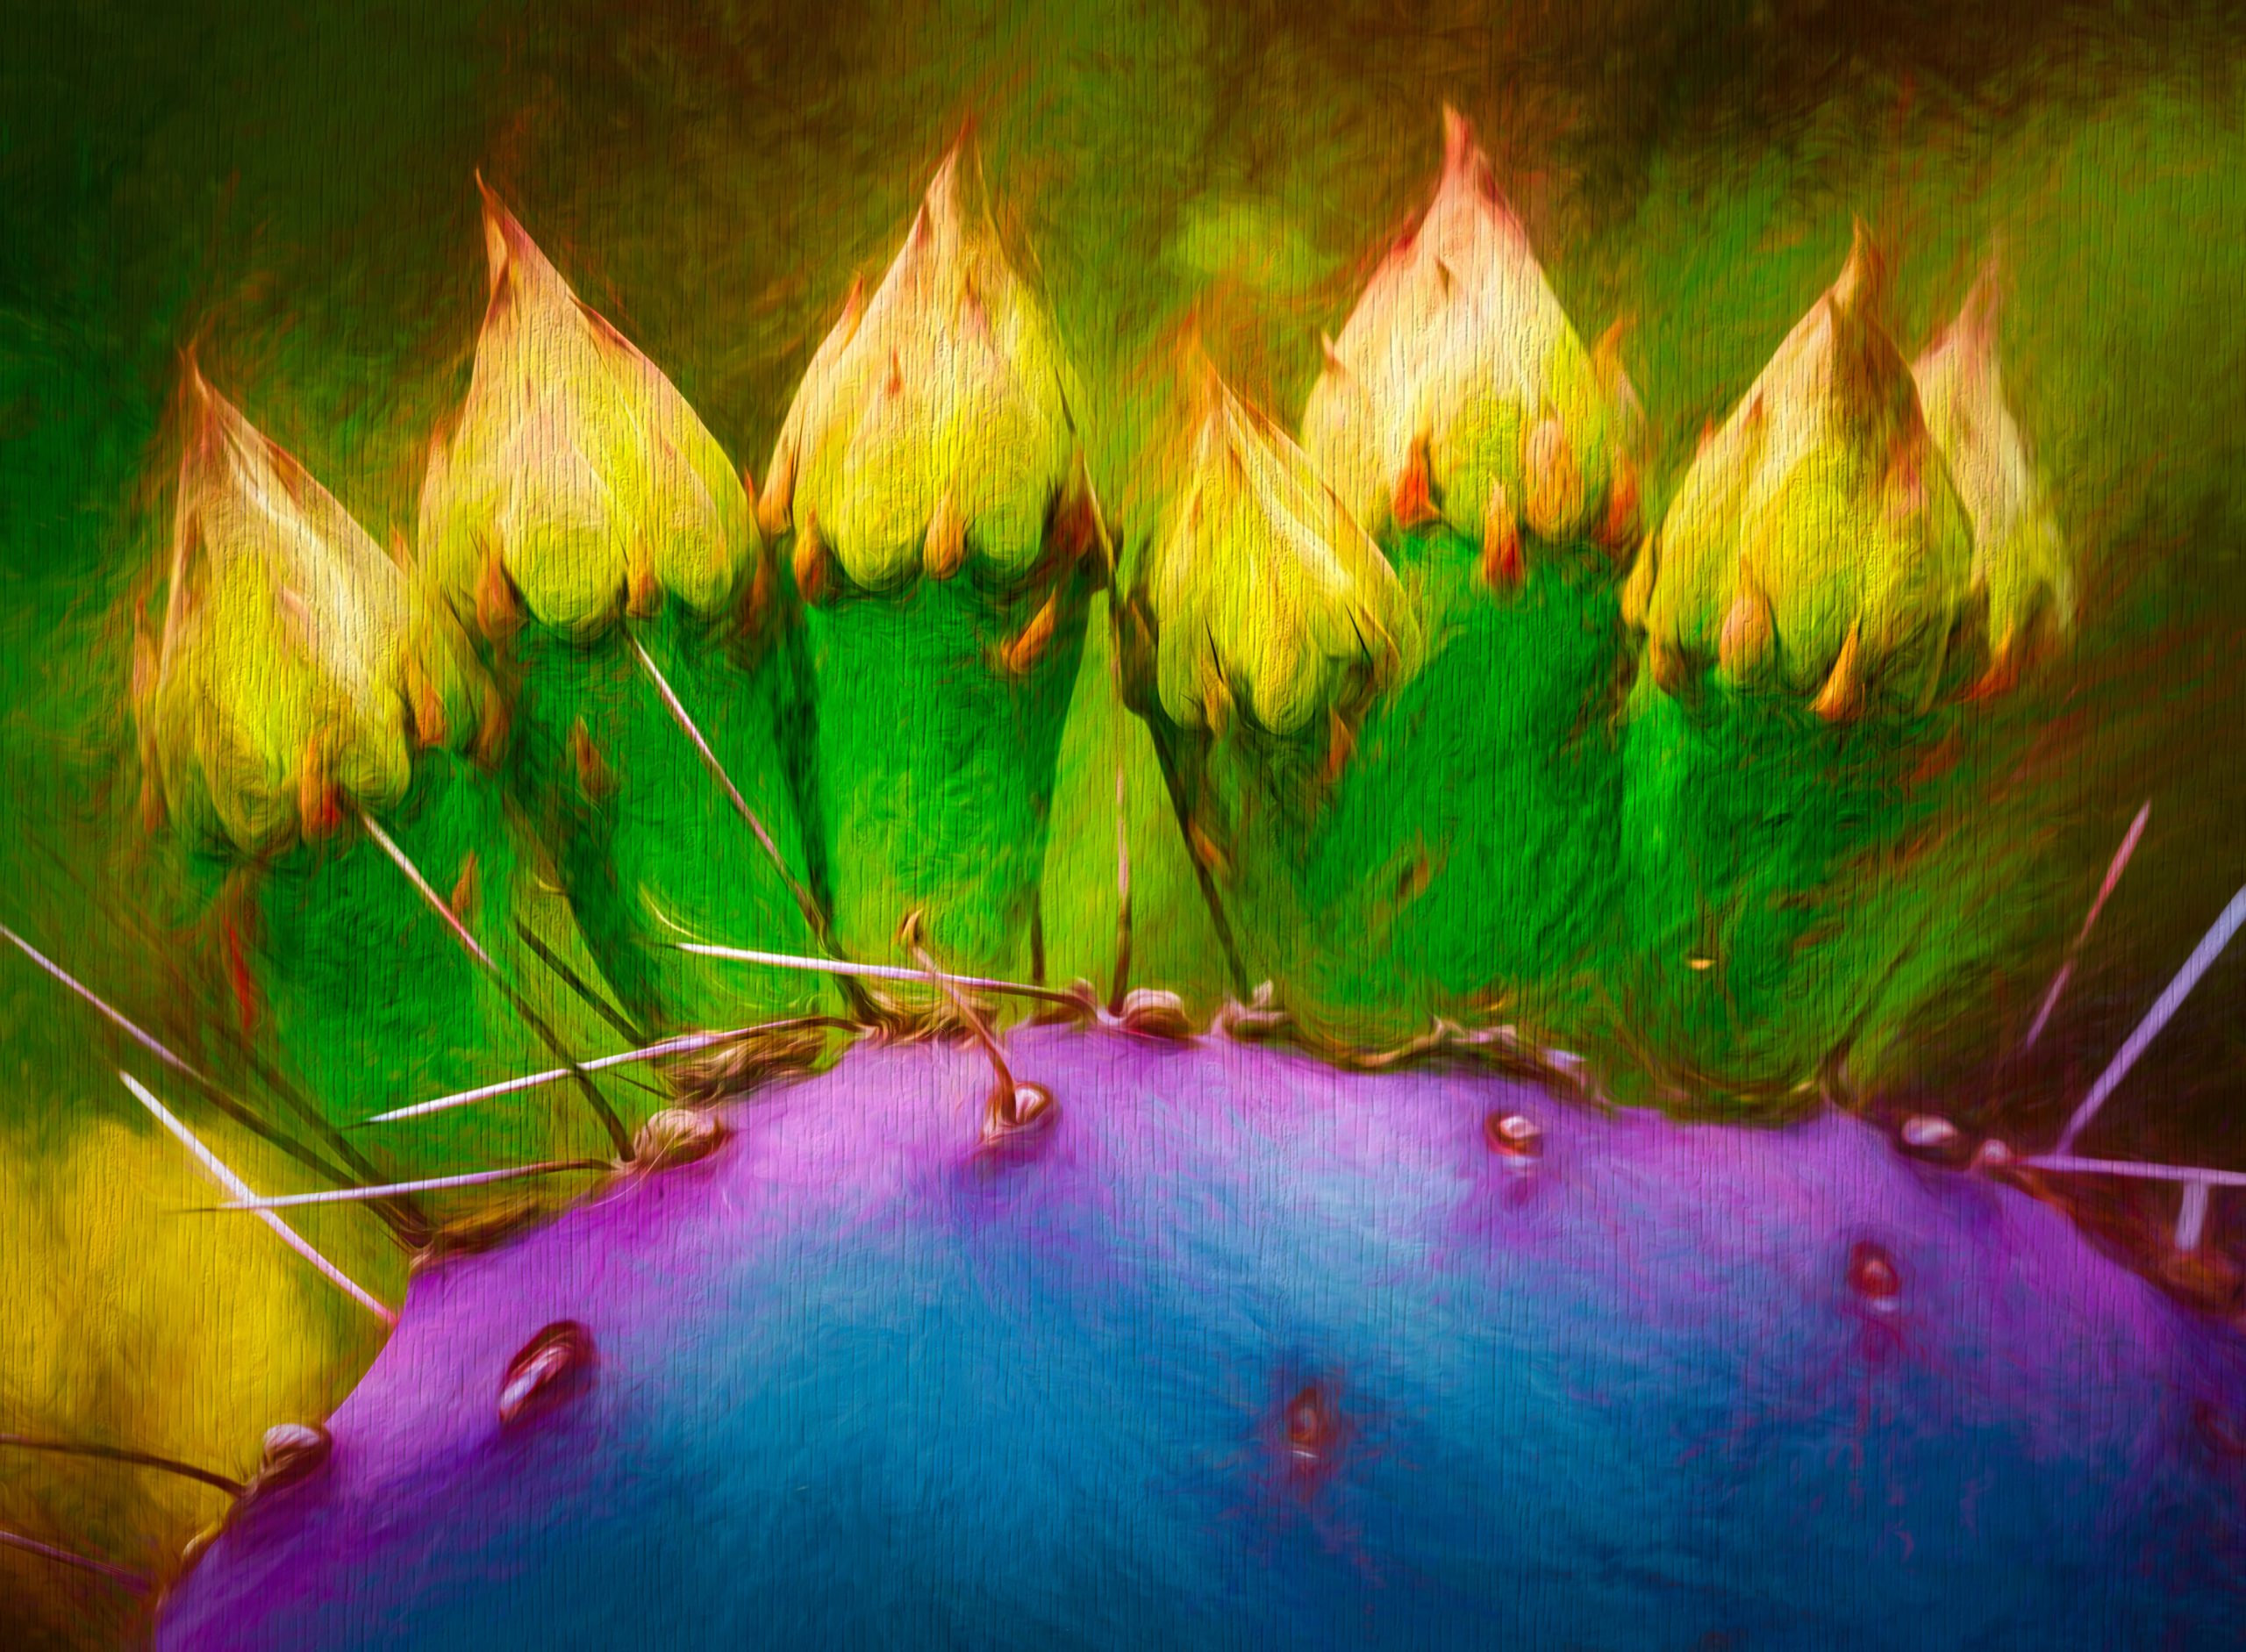
Flower photography is a great way to express the beauty and uniqueness of flowers. However, it can be difficult to capture a good shot. This blog will help you learn how to do so by providing tips on lighting, composition, and more.
Learn to See
It is important to learn how to see. Look at the world with fresh eyes, and look at it in a different way. See things as they are, not how you think they are. The importance of learning from others cannot be underestimated: this will help you improve your photography skills and develop a more complete understanding of light, color and composition.
Use a Macro Lens
A macro lens is designed to get very close to the subject. This allows you to capture more detail, but it also means that only a small part of your image will be in focus at any given moment. To take advantage of this ability and create beautiful flower photos, you’ll need to use your macro lens with manual focus so that when you focus on something really close (like an individual petal), everything else gets blurry and out of focus.
Get the right light
- Use natural light.
- Use artificial light.
- Use flash.
- Use a diffuser, reflector or softbox, or all three! You can also use the sun as a light source if you’re out in nature and have it for yourself (which is often the case). If you don’t have access to such an environment, then it’s important that your subjects are well framed by whatever source of lighting is available—and there are many options available today: from umbrellas with built-in reflectors on their sides; to paper bags filled with sand or gravel; even just using traditional flash units like those made by Nikon will work great too!
Try Black and White
Black and white is a great way to make a flower look more interesting. It helps simplify the image, making it stand out more and easier for viewers to focus on the details of each petal or leaf. Black and white also makes a flower look dramatic as if it’s been shot in high-contrast lighting conditions that highlight its shape without drawing attention away from them.
Black and white can help you emphasize shapes as well—it’s common practice among photographers who shoot with black & white film cameras like Hasselblad 500C/MFTs or Rolleiflexes (or similar models), but you don’t have any restrictions on your digital equipment when working digitally with an SLR camera like Canon 5D Mark IIs or Nikon D3100s!
Make it Abstract
- Use a shallow depth of field to blur the background. A shallow depth of field is one in which everything from near to far is in focus, with only one area receiving sharp focus. This helps you isolate your subject from its surroundings, so that it stands out as the centerpiece of your image.
- Use a wide aperture (low f-stop) to blur the background even more. A wide aperture will let in more light than usual; this makes it possible for you to use smaller amounts of available light than normal while still getting good results!
- Get close enough with macro lenses so that you can’t see any detail around your subject—this will give off an abstract look when combined with other techniques discussed above.
- Use tripods or monopods if possible; they’ll keep things steady no matter how fast things happen around them!
Get Closer
- Get closer. If you want to get a close-up of your subject, use a macro lens and get as close as you can to the flower. This will help capture more detail in the photo and make it seem more realistic.
- Use a tripod. A tripod is essential for any type of photography because it allows for steadier shots and smoother movements that would otherwise cause blurriness when taken with hand-held cameras (or even just walking).
- Use remote shutter release or cable release if available on camera model/brand so that no vibrations from pressing buttons occur during exposure time by holding down button until ready; this may be necessary depending on which camera brand/model being used at time of purchase etc…
Create Depth of Field
To create depth of field, you need to focus on your subject. There are several ways to do this, including a small aperture and using a tripod or remote shutter release.
- Use a small aperture (f/8 or lower) in order to bring the background into sharper focus than your main subject’s face. If possible, use an automatic lens that can open up even more during autofocus so that you don’t have to worry about manually changing the focus ring each time you want to move from far away back towards closer-focused shots; this is especially helpful if there’s not much room around them because they’ll be able to see all their surroundings at once while still being able take advantage of these lenses’ wide opening capabilities (which may also mean more light entering through those same lenses).
- Tripods aren’t just helpful when photographing landscapes—they’re great tools for other types too! It’s easy enough just laying one down somewhere near where everything else happens: maybe even right next door where someone else could help out if needed? Then after everyone else has left but before going home yourself start setting up those cameras on tripods set up properly aligned with each other; then start focusing again until everything lines up nicely without any obstructions like trees swaying back forth too much giving rise either way off center towards one direction or another depending upon weather conditions etcetera…
Use Back Lighting
Back lighting is a great way to create a silhouette and use it as an opportunity to create depth of field. If you’re shooting in the shade, try setting up your subjects on the opposite side of where they will be framed. This will cause them to stand out against their background and give you more options for how they appear in your frame.
The same goes if you’re using natural light: If there is any kind backlighting around your subject (such as sunlight or moonlight), try taking advantage of this by placing them in front so that they are visible against their surroundings but still appear illuminated from behind them!
Use Light Painting
Light painting is a great way to create a unique image. It’s easy, fun, and can be done with just about anything that you have around the house or your garden. The key is to find a good light source that will cast shadows on your subject matter (in this case, flowers). If you want to get fancy—and we recommend it—you can use an LED flashlight as well! You’ll need one with an adjustable angle so you can adjust its position as necessary.
The best thing about using light painting techniques is how much creativity they allow! Use these tips below:
Explore Silhouettes
Silhouettes are an easy way to create a powerful image. They can be done in the studio or on location, and they work well with both macro and wide-angle lenses. To make your silhouetted flower photos stand out from the crowd, try these tips:
- Use a tripod to keep your camera steady so you don’t have shaky images.
- Shoot in full sun so that you’ll get shadows on all sides of your flowers (if you’re using flash). The light will also cast shadows across their petals as well as behind them—all good things!
- Use a wide aperture (small f/stop) so that everything outside looks blurred; this makes it easier for people’s eyes not only see but also focus on one thing at once instead of seeing multiple things at once like what happens when using large f/stops like f/8 or closer ones like f/11 which are still pretty blurry looking though still better than those wider settings would produce without being stopped down much further than 1 stop from being fully open up all those other bits inside there too . . . just saying 🙂
Flower photography is a great way to express your creativity and can be done in many different ways. You can use flowers as props, or even just as part of the background. The sky is also a great place to find inspiration if you’re looking for something more abstract.
There are lots of different styles that flower photographers take advantage of when they’re photographing flowers, but at the end of the day all it takes is finding something that speaks to you and then taking some photos!
So there you have it, the top five tips for flower photography. And remember, these are just suggestions and should not be taken as rules. Go out and experiment with different techniques and find your own favorites. You never know what will work best!


